
On plaster, almost all non-drilling fastening systems are factory tested on smooth surfaces (paint, tiles, laminate). The technical data sheets of Command 3M or tesa Powerstrips do not guarantee their hold on textured plaster. The challenge lies in compensating for this roughness to achieve sufficient contact between the adhesive and the substrate.
Diagnosis of plaster before gluing: hollow areas and micro-cracks
Before applying anything, we recommend checking the entire targeted area with a mallet or the palm of your hand. A hollow sound indicates a plaster that has detached from the substrate, and in this case, any adhesive will pull the plaster off with it during removal or under the weight.
See also : Tips and advice for optimizing your interior layout and decoration
Micro-cracks pose a similar problem. They create lines of breakage in the plaster. Gluing centered on a crack holds for a few days, then the plaster gives way under tension. The test is simple: run your finger along the area, identifying any linear roughness or flaking material. If the plaster crumbles at touch, the area is not suitable for gluing.
For those looking to stick a picture on a plaster wall without drilling, this preliminary diagnosis avoids most failures. It is better to shift the frame twenty centimeters towards a sound area than to center it perfectly on fragile plaster.
Recommended read : Installing a Dishwasher and Oven: Practical Tips for an Ideal Distance in the Kitchen
Preparing the plaster surface to maximize adhesion
The roughness of the plaster reduces the actual contact area between the wall and the adhesive. On a scraped or troweled coarse plaster, only the tips of the relief touch the adhesive strip, which divides the load capacity by two or more compared to a smooth wall.
Localized sanding and cleaning
A light sanding with medium-grit paper, over an area slightly larger than the fastening device, flattens the peaks of the plaster without destroying it. The goal is not to achieve a perfectly smooth surface, but to reduce roughness to increase adhesive contact.
After sanding, thorough dust removal is essential. Plaster dust forms a powdery film that prevents any adhesion. We use a slightly damp microfiber cloth followed by complete drying before application.
Degreasing with isopropyl alcohol
On interior plaster, kitchen splashes, candle smoke, or nicotine leave an invisible greasy film. Wiping the sanded area with isopropyl alcohol removes these residues. Do not use regular household cleaners, which often leave a surfactant on the surface.
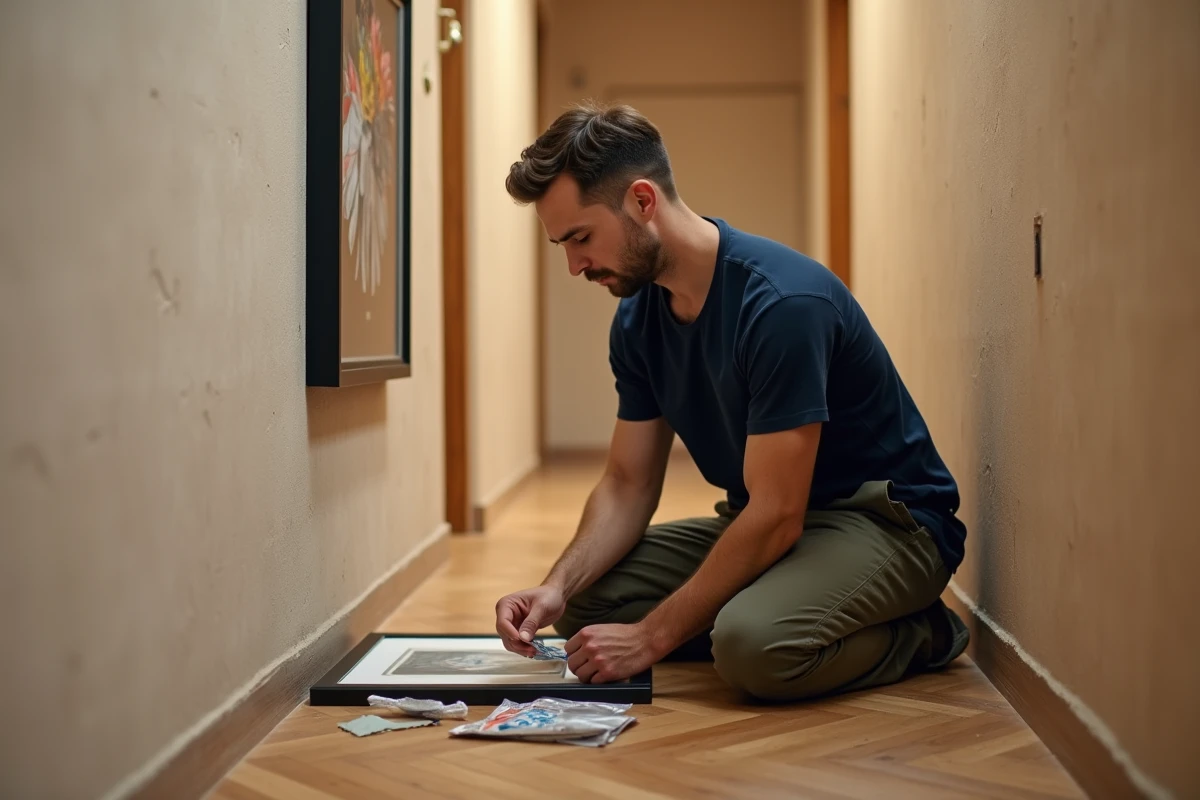
Non-drilling fastening on plaster: choosing the right system according to the weight of the picture
The weight of the frame determines the system, not the other way around. Many disappointments arise from a choice made based on price or simplicity without weighing the picture beforehand.
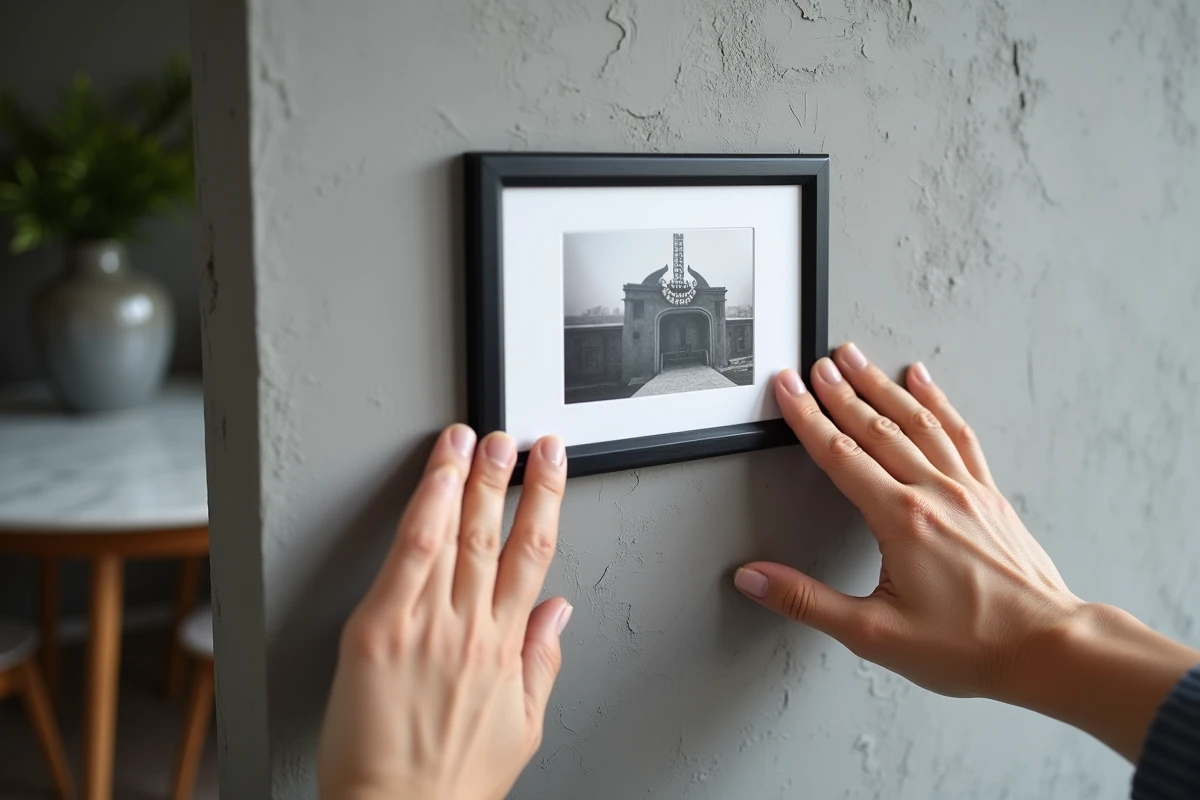
- Light frames (small formats, thin canvas, thin wooden frame): self-adhesive hook-and-loop strips like Command work provided the plaster is prepared as described above. Using two pairs of strips instead of one distributes the load.
- Medium-sized frames (about 50×70 cm, wooden or aluminum frame): a cartridge mounting adhesive (neoprene or hybrid polymer type) offers much better hold on irregular surfaces. The adhesive fills the hollows of the plaster and creates a mechanical bond in addition to the chemical bond.
- Large formats or heavy frames (mirror, thick canvas with frame, ornate frame): no purely adhesive system is reliable on plaster. We then recommend a cornice glued with adhesive, which distributes the weight over an entire horizontal line rather than on one or two points.
Hybrid polymer adhesive: the safest compromise on plaster
The hybrid polymer adhesive (MS polymer type) adheres to most building materials, including mineral plasters. It remains flexible after curing, which absorbs micro-movements of the structure without detaching. Its open time (a few minutes) allows repositioning of the frame.
Apply the adhesive in thick beads rather than dots. On plaster, the bead penetrates the hollows of the relief and doubles the contact area compared to a flat adhesive dot. Holding the frame with masking tape during the curing time prevents any slipping.
Exterior plaster: why adhesive alone is not enough
On an exterior plaster wall, conditions change radically. UV exposure degrades the polymers in adhesives within a few months. Rain-dry cycles swell and contract the plaster, breaking the adhesive joint. Temperature variations amplify the phenomenon, with a risk of sudden detachment without warning.
For an outdoor decorative picture, the only non-drilling approach that lasts combines a polyurethane (PU) adhesive rated for outdoor use and a complementary mechanical fastening (clamp hook on a rail, for example). An adhesive alone, even high-end, does not guarantee performance on exposed facades.
Clean removal on plaster: avoid pulling off the plaster
Removal is often more problematic than installation. Command strips pull off with vertical traction, but on plaster, the adhesive’s resistance can exceed the cohesion of the plaster. Result: the plaster comes off with the strip.
- Heating the adhesive with a hairdryer for about thirty seconds softens the glue and reduces the pulling effort.
- Pulling slowly while maintaining a flat angle (parallel to the wall) limits the stress of pulling on the plaster.
- For cured adhesive, a nylon fishing line slipped behind the frame and pulled like a saw cuts the joint without touching the plaster.
Never yank off an adhesive applied to plaster in one swift motion. Patience during removal protects the plaster as much as care during installation.
The choice of a non-drilling fastening system on plaster comes down to a logic of contact surface and compatibility with the texture of the substrate. Preparing the area, adapting the product to the actual weight of the frame, and anticipating removal: these three parameters are enough to achieve reliable adhesion without touching the drill.